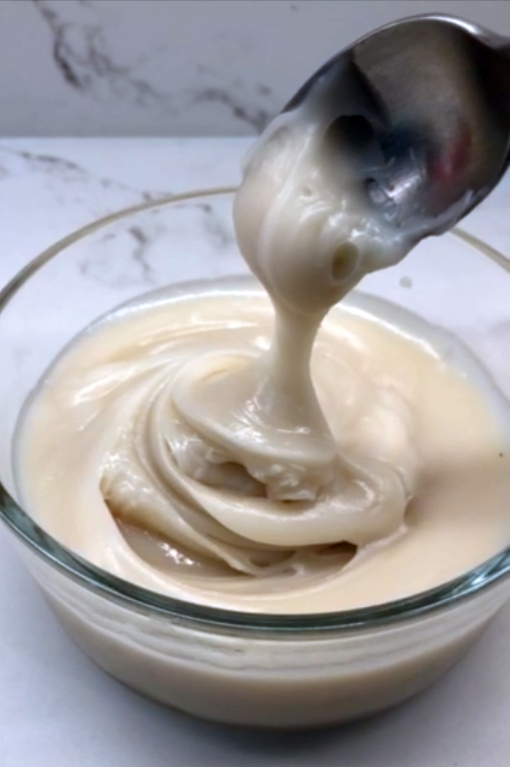
This project started out because I’m thrifty and somewhat dairy-intolerant (I tend to get gassy). After paying roughly $4 for a smallish can of imported sweetened condensed coconut milk, I wondered if I could make it myself.
A number of years ago, I wrote a recipe for sweetened condensed soy milk, but honestly, I wasn’t totally satisfied with it. But paying for such a small quantity (14 tablespoons in a 7.4-ounce can) didn’t sit well either. When I opened the can, it was solid and not appetizing. Moreover, it didn't have a special flavor.
So I started researching for dairy free sweetened condensed milk recipes made with coconut. Most recipes simply require cooking down coconut milk with sugar. Then I researched regular condensed milk recipes. When I noted Stella Park’s sweetened condensed milk recipe, I pondered applying her approach. Stella, the author of the fabulous BraveTart baking cookbook, is a great investigator and teacher. She added cream to the milk mixture to create a rich, fast cooking process. I trust her.
In between work assignments this week, I snuck in a few rounds of cooking up sweetened condensed coconut milk. Here’s what I learned to set you on your way.
Go Full-Fat
The reason my prior sweetened condensed soy milk experiment was meh was because of its relatively low fat content, compared to cow’s milk. Coconut milk has more fat than soy milk.
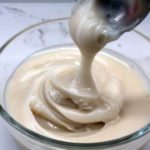
To mimic conventional sweetened condensed milk, choose fatty coconut milk and cream. What I did appreciate from the canned condensed coconut milk was its fattiness. It looks gross in the photo below, which is why I chose to make my own dairy-free sweetened condensed milk.
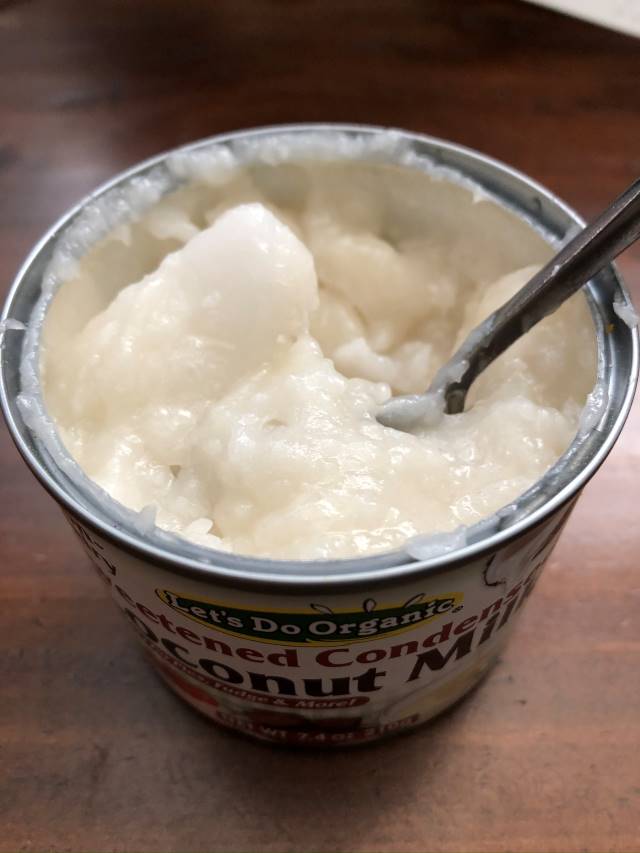
This is not the time to select “light” low-fat coconut milk. Don’t shop for the coconut milk in the soymilk section of the market. Head to the Asian section and look for canned coconut milk or coconut milk or cream sold in small tetra boxes. Asian markets and places like Costco have deals on coconut milk. I buy Chaokoh and Thai Kitchen organic by the case. Trader Joe’s sells excellent coconut milk and cream too.
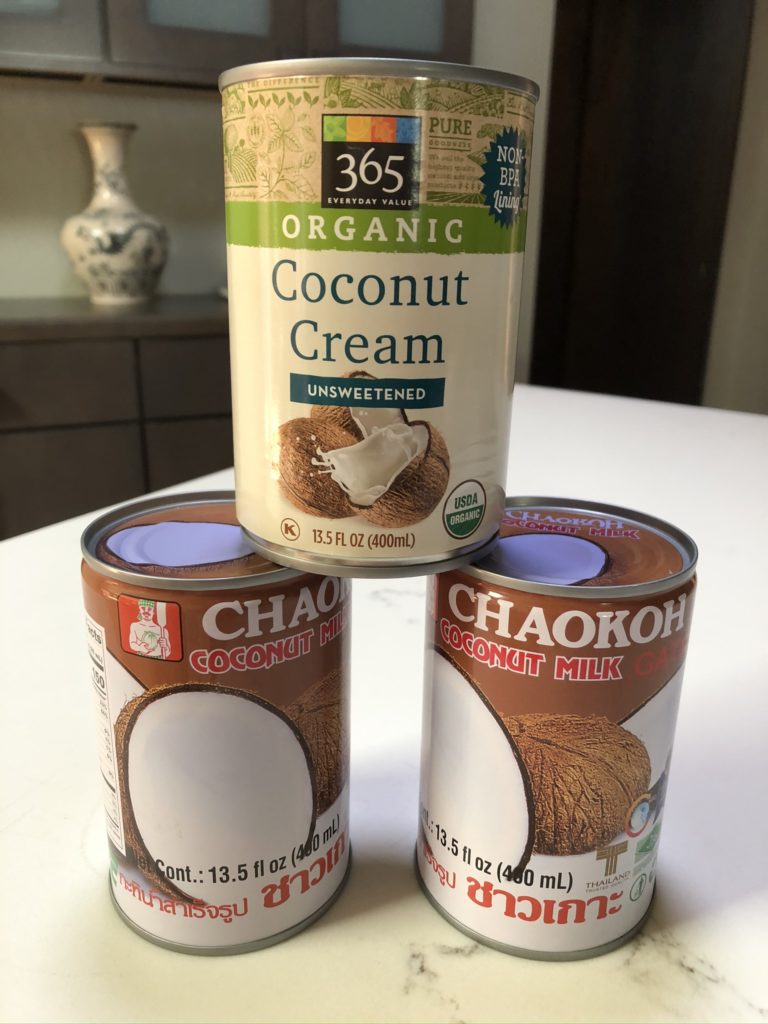
And, coconut milk and cream brands vary in fat. Check the nutrition label to find flavorful products. I chose Chaokoh coconut milk and Whole Foods coconut cream.
What if you don’t have coconut cream? Leave a can of coconut milk to sit undisturbed for 1 to 2 days, open it up and spoon the thick cream from the can.
Opening Cans of Coconut Milk
Of course, you know how to open food cans! But, canned coconut milk can trip you up. Brands such as Chaokoh come in cans constructed to be opened UPSIDE DOWN. It’s really smart because the thinner liquid is on top when you’ve opened up the can.
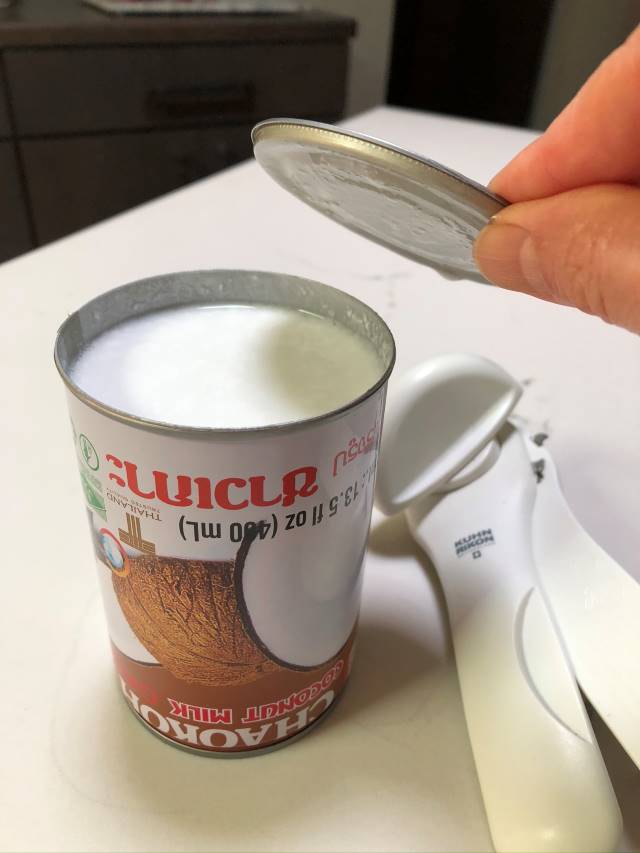
If the plug of cream is at the top, you have to pierce that plug to stir things up. It can be unwieldy. So, if your can opener doesn’t work the way you think it should on canned coconut milk, you are not the problem. Just flip the can over and you should be good to go!
Use a Nonstick Pot
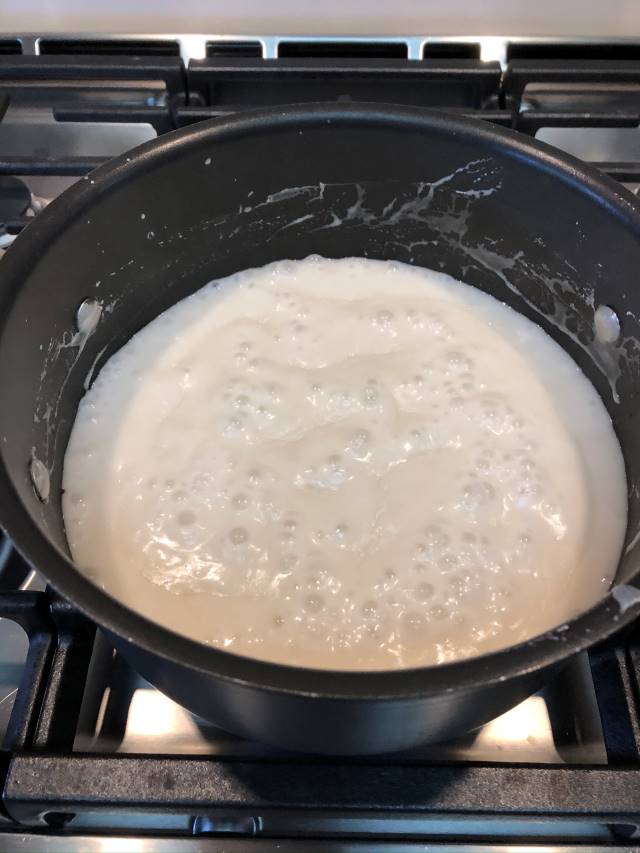
During the 30 to 45 minute cooking process, the sugar sticks to the wall of the pan. Unless you want to stir constantly, use a nonstick pot. The one I use is an affordable 4-quart pan, like this one, that I use for tasks such as cooking soy milk and making tofu.
Sweet Flexibility
The first time out, I used 6 ounces of sugar for 2 cans of coconut milk plus ⅔ cup of coconut cream. The flavor wasn’t pronouncedly sweet when I was done so I simply stirred in another 1 ounce of sugar.
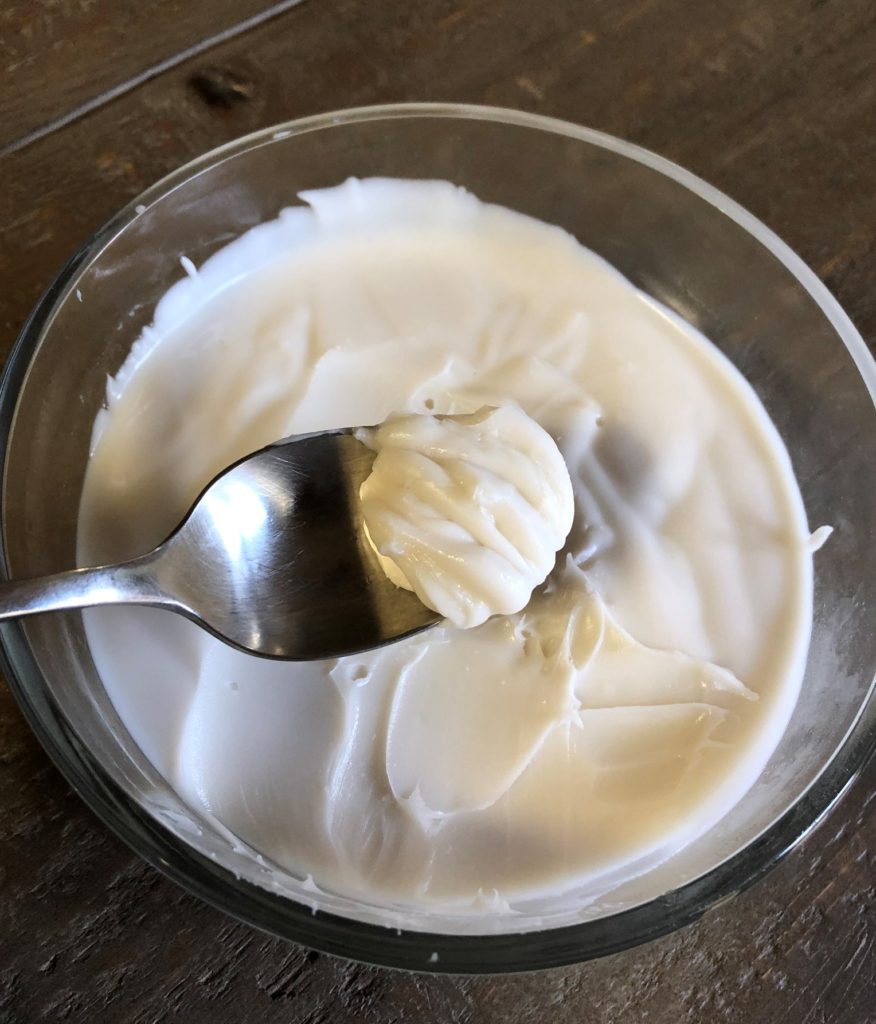
Left overnight in the fridge, the coconut milk solidified to resemble lard (below). It wasn’t sweet enough in my cup of coffee. To sweeten it up, I simply reheated the sweetened condensed coconut milk and then added more sugar. I ended up using an extra ½ cup to get a bold flavor. The condensed coconut milk was delicious, richer and more svelte tasting than the canned version that I’d bought. I’d also made about 2 ⅓ cups from about $5 of ingredients!
The experiment reminded me that you can’t always do a straight 1:1 swap when substituting ingredients. But you can establish benchmarks and incrementally tweak things to get them to where you want. That’s how I try to write my recipes.
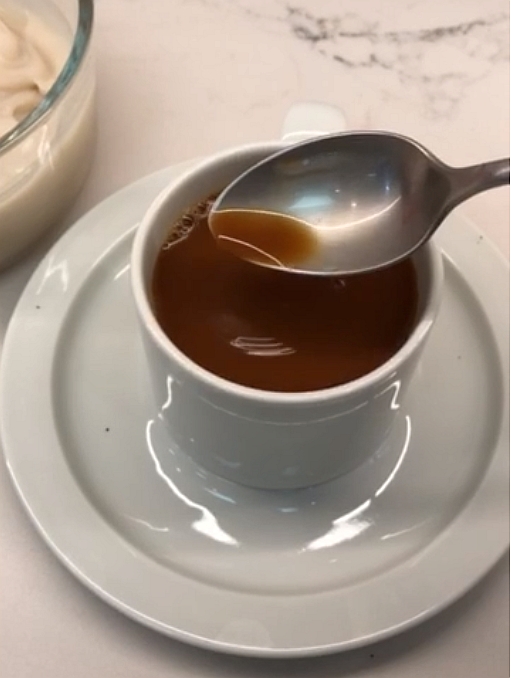
Here’s the easy recipe for you to use and tweak. It’s affordble, fun and fast! And, you can use it for a highly delicious cup of dairy-free, vegan Vietnamese coconut coffee!
(There's a coconut coffee recipe in The Pho Cookbook that would be super charged with coconut-ness if this sweetened condensed coconut milk were involved.)
What else can you do with sweetened condensed milk?
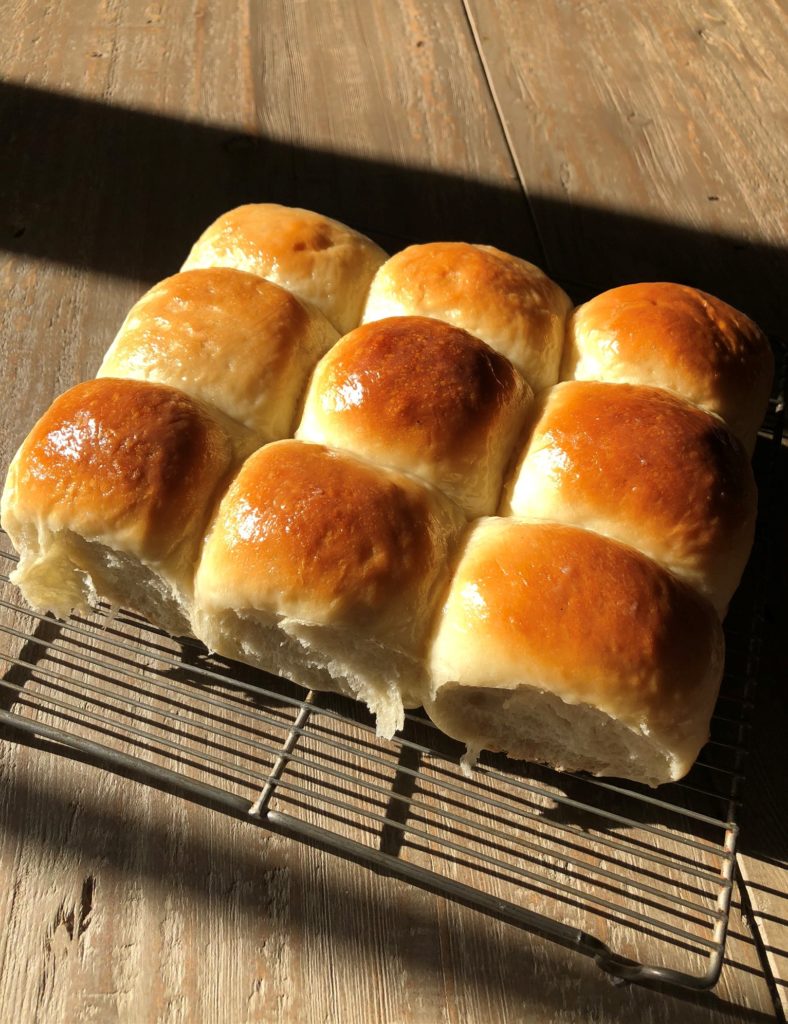
Here are 10+ Asian recipes and ideas to get you going. And, you can use this condensed milk to bake an easy vegan milk bread (pictured above!) that evokes King's Hawaiian bread and Chinese/Japanese milk bread!
Sweetened Condensed Coconut Milk
Ingredients
- 2 13.5 oz cans full-fat, unsweetened coconut milk
- ⅔ cup coconut cream (buy coconut cream or harvest the thick cream from an unshakened can of coconut milk)
- 1 to 1 ½ cups 7 to 10.5 oz cane sugar
- ½ teaspoon fine sea salt
- 1 teaspoon vanilla extract (optional)
Instructions
- Use a wide medium pot (a 4-quart capacity one is ideal) to make this sweetened condensed coconut milk. Pour the coconut milk and cream into the pot. Add the sugar (start at 1 cup if you want to try for a less sweet flavor) and salt. Eyeball the level in the pot to later gauge the cooking progress in reducing the mixture. Warm over medium heat, stirring occasionally with a silicone spatula, until things begin simmering.
- Adjust the heat to about medium-low to simmer for 30 to 45 minutes, scraping the pan frequently to avoid gunk from accumulating on the sides. Adjust the heat down if the bubbling proves to be too dramatic.
- The sweetened condensed coconut milk is done when the mixture has reduced to nearly a third of the original volume in the pan. Stir the mixture with the spatula and it should leave a trail on the top. Slide the pan to a cool burner and let the mixture continue to concentrate and cool. After about 10 minutes, it should have thickened further. Draw the spatula through the pot and there should be tiny gap in the bottom that holds for a minute or so. If not, you can always reheat and cook for a few minutes longer. It will thicken as it cools!
- You should have about 2 ⅓ cups. If you went too far, add coconut milk and recook briefly. Stir in the vanilla (if using), then let cool completely. Retaste and if you want more sugar, add up to ½ cup and briefly recook to melt and incorporate. Regardless, store in an airtight container and refrigerate for up to 2 months. Return to room temperature to use.




Albertina says
I just want to say thank you! This is the best dairy-free condensed milk recipe. I am going to make this again!
Kaori Becker says
Genius!
Gina says
Doesn't this end up costing more than the canned product?
Andrea Nguyen says
But you make 2 1/3 cups per batch that costs about 1.5 times more than a can that has 14 tablespoons. Plus, you can control the sweetness. Frankly, the canned version was not that great, as the photo shows.
rsp says
Great recipe and technique. But this is the high standard of all of your postings; a favorite of mine. May I respectfully ask you to consider this: like a growing number of people, I do not and will not purchase anything from or through Amazon. We do not want to support them because of the predatory nature of their business, their treatment of vendors and abuse of their workers and poor citizenship in the communities where they operate. I am not asking anyone to join me in this, but merely to ask for alternative ways to purchase the thins you recommend. Thank you, and keep all your wonderful posts coming.
Andrea Nguyen says
I'm a one person operation and try to do things for a broad swath of people. With all due respect, you do not have to click on the links. However, many people do shop at Amazon, Walmart, Target, Home Depot, etc. With regard to food ingredients. I often warm people that for certain items, they'll get a better price at an Asian market. Alas, some folks don't want to go to an Asian market. They want to conveniently and reliably order from Amazon or the likes.
People who utilize this site are smarties and know where to shop. Amazon links are great for research in terms of products. For example, I recommend a Cuisinart pot in this post but you can look for it at your favorite stores -- maybe a local one. You may even find a deal!
And, some small vendors, such as Red Boat Fish Sauce, sell through Amazon and have a dedicated page there (this is an Amazon link meant to verify the RB presence). So, it's complicated. I do not want to deny small businesses of potential revenue.
I'm firm on certain things in life but I remain flexible to keep myself sane. I believe that people who visit this site make personal decisions based on their own free will. Please understand.
Thank you for weighing in.
Peder says
Very well said, in response to the comments about Amazon! Whilst I appreciate the reasoning of the person, I completely agree with you.
In response to your recipe, thank you very much! As someone who is lactose intolerant, I miss having Vietnamese coffee (amongst other things) and the alternative products, as you so aptly point out, are mediocre at best.
For many years we have preferred the Mae Ploy brand of coconut milk and cream. I know it is made in Thailand; but, it has a good coconut flavor, does not have the metallic flavor some other brands have, and comes in slightly larger cans. Not to mention, the owner of the Viet market closest to us gives a discount when we buy a whole case!
Andrea Nguyen says
Mae Ploy is terrific! It's well distributed in Asian markets here in the States.
Lisa Shimada says
can I susb monk fruit sugar for cane sugar. . .if I want to control the carbs?
Andrea Nguyen says
I tried it and it crystalized. I didn't include it here because I wasn't happy with it. It needs work. Glad you were thinking of it too!
DB says
Can I use regular granulated sugar? Thank you.
Andrea Nguyen says
Of course. I used C&H pure cane sugar!