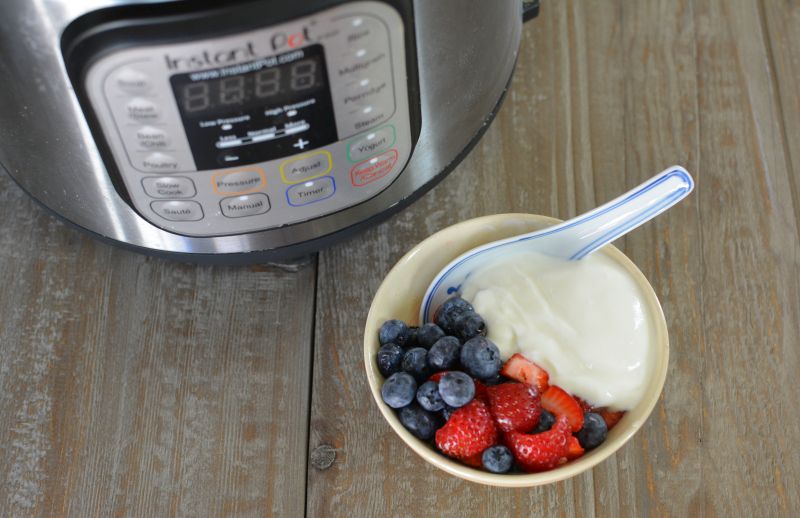
I eat yogurt for breakfast most mornings. It’s not glamorous but it’s healthy and easy to assemble a bowl of muesli, fruit, yogurt, and honey. I add a heaping spoonful of flax seed meal (my dad got me into flax years ago). My husband has his yogurt with just fruit. Together we eat about half a gallon of yogurt every ten days.
For years, that meant we were amassing a collection of yogurt tubs. My mom loved those tubs for freezing food and I took to gifting her frozen pho broth in recycled yogurt tubs. She got so many tubs that she re-gifted empty tubs to her friend, Mrs. Nha.
Earlier this year, I investigated buying a yogurt maker. Why keep going to Costco for half-gallon tubs of yogurt, especially when my mom had had enough of the recycled tubs?
The yogurt makers on the market are about $100 and my husband questioned how often I would use it before I got bored. I reminded him of the starter that I grew and maintained for years by baking us weekly loaves of walnut bread. He reminded me of how we had it babysat when we when on vacation.
I kept thinking about yogurt makers but then came the Instant Pot, which has a yogurt function. I was eager to try it out and looked to my friend and cookbook author Cheryl Sternman Rule for insights. She wrote an amazing cookbook about yogurt and at her website, TeamYogurt.com, she had instructions for using the Instant Pot to make yogurt.
Yogurt ingredient recap
- Milk – Cheryl suggested organic milk for making yogurt and through rounds of testing, I found that you can use low-fat milk or full-fat milk. I like full-fat milk (surprise!) for its rich flavor.
- Yogurt starter – Choose one that’s full of live, active cultures. I used the Costco yogurt because it was a very natural product, made with few ingredients. For the first batch, use purchased yogurt. Subsequent batches can be started with yogurt saved from prior DIY batches.
When I make Vietnamese yogurt (da ua or sua chua in Vietnamese) I simply incubate sweetened condensed milk with the regular milk. Years ago, I posted a Vietnamese yogurt recipe with sweetened condensed milk; I incubated it in the oven and the results were inconsistent. I was a yogurt novice. The Instant Pot has made me somewhat of a yogurt expert. Let's face it, I'm a lifelong learner.
On my last trip to Vietnam, I noticed that the yogurt tended to be sweeter than I remembered. It was also on the runny side. Once home, I tried adding sweetened condensed milk to yogurt and it was okay but the sweet richness of the condensed milk wasn’t fully integrated with the yogurt.
The other day, after seeing my photo of homemade IP yogurt on Instagram, someone asked if it was Vietnamese yogurt. My mom used to not add condensed milk to hers when she made it in Vietnam; she incubated her yogurt in the hot Saigon sun. On occasion, it was quite sharp but we ate it anyway. It was good for us, my mom said.
I was curious about adding condensed milk to the IP yogurt, so I made a batch of yogurt and just poured in some condensed milk (I keep it in a jar in a fridge). The half gallon of milk changed flavor with just ½ cup of sweetened condensed milk; I thought I'd have to add more.
I went through my regular steps to make yogurt and the next morning... Voila! The yogurt had a sweet lilt. My husband tasted it and remarked, “This doesn’t seem like regular yogurt.” Of course not, it’s Vietnamese yogurt!
DIY yogurt blueprint
Whether you’re making regular or Vietnamese yogurt, it’s simply about following this blueprint:
- Pasteurizing the milk
- Cooling it down
- Adding the starter
- Incubating the mixture for hours
The Instant Pot can help you do that because it will regulate the temperature. I start a batch in the afternoon or evening and wake up to a pot of yogurt for breakfast. There's little guesswork or monitoring involved. Cooking while you sleep is fabulous!
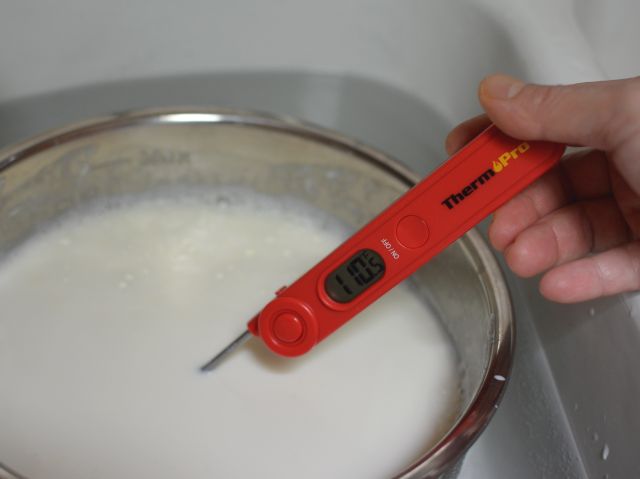
The tricks involve working all the buttons and gauging temperature, which I zero in on with a Thermo-Pro instant-read digital thermometer. At first, I was using a regular dial thermometer and it wasn’t precise enough.
Yogurt lessons and mistakes
I had some issues, well, some mistakes. Here are my lessons learned:
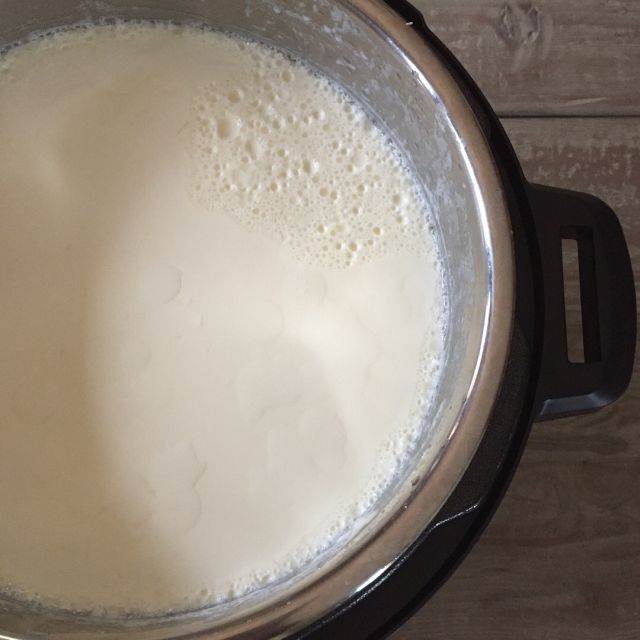
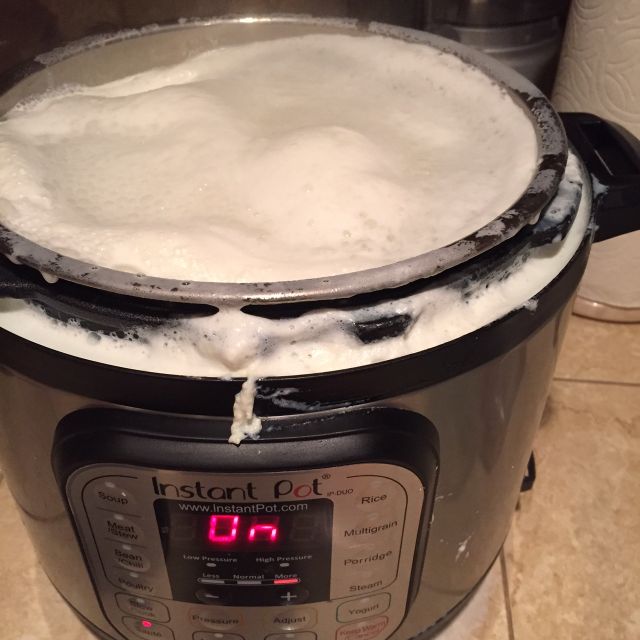
To ensure a thicker yogurt, Cheryl has you continue to keep the milk heated for a few minutes after the initial pasteurization. I do that for 5 to 8 minutes via the Saute function. The extra heating induces evaporation so the milk is richer and the yogurt is thicker. Do that with the lid off. The other night I left the lid partially covered and had an accident because the milk did boil. Adjust the heat level, as needed, and remove the lid.
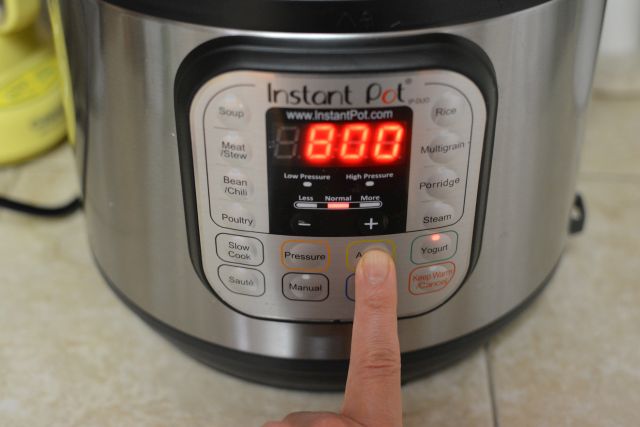
When setting the IP to make yogurt, be sure to have the temperature set to Normal. I once had it set to Low thinking it needed a low temperature and the milk remained as a liquid.
Incubation time tips
How much time to program the IP for incubating the yogurt? It depends on how much tang you want. Eight (8) hours is mild. Ten (10) hours is a moderate amount of tang. Twelve (12) gives a nice sharpness. This all gets mitigated by the fat in the milk. For the Vietnamese yogurt I just made this week, I used ten (10) hours because I like the tang. You can back off and go for nine (9) or even (8) hours of incubation. Less time means the condensed milk will pop more. I like the sweet-tartness so I went for a longer incubation.
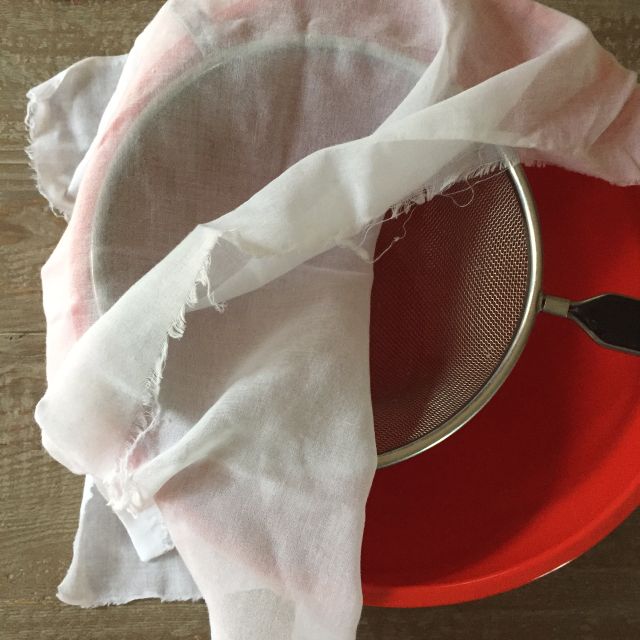
When fresh and warm, yogurt will seem rather thin. It will thicken in the fridge but if you want very thick yogurt, strain it through cheesecloth or muslin or paper towel; occasionally whisk to evenly strain and create a creamy texture. The fabric I used below is very thin muslin (you could use it for curtain sheers). The straining time depends on the yogurt quantity and temperature when you strain it. Just eyeball it.
What about the film in the pot?
And, there’s usually a film stuck to bottom of the IP pot. Avoid stirring that up or it’ll mess with the texture of the yogurt.
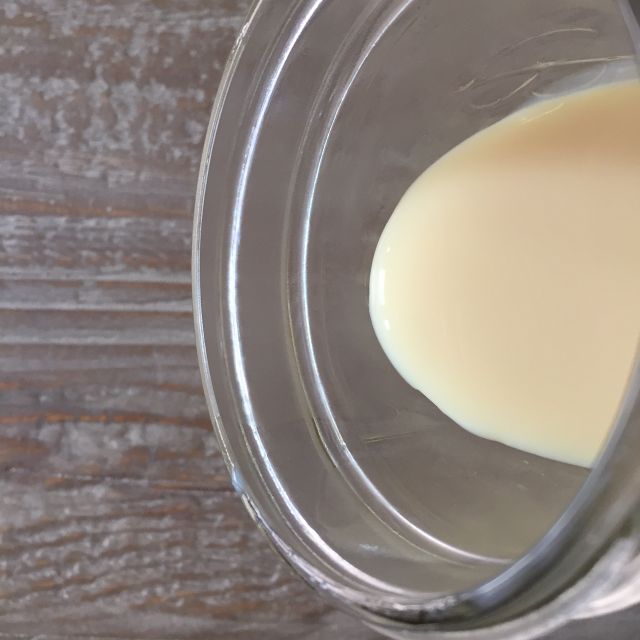
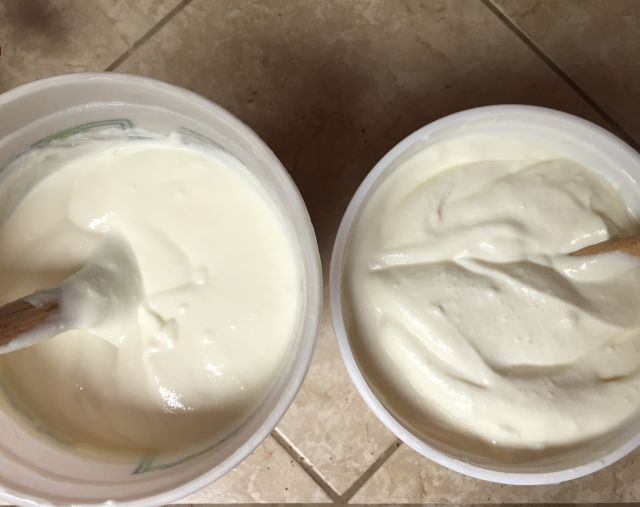
How does Vietnamese yogurt compare to regular yogurt? The color of Vietnamese yogurt is on the buff side, rather than the off-white side. It’s a subtle difference that’s hard to see in this iPhone photo I took.
What's more interesting to note is the texture. Strained regular yogurt is on the right. I didn’t strain the Vietnamese yogurt on the left because it’s not traditionally super thick. However what I made was creamy, tangy and a touch sweet with the goodness of sweetened condensed milk. It captured the quality and quirk of Vietnamese yogurt.
Below is a yogurt recipe for your Instant Pot adventures. Make it with the sweetened condensed milk for a Viet twist; add more sweetened condensed milk if you want to emphasize the sweet. Or, keep the yogurt plain.
Double the quantity after you get comfortable with making the recipe. It’ll be good anyway you do it. I never thought I'd type this but the Instant Pot makes yogurt super duper easy and fun.
Instant Pot Vietnamese Yogurt
Ingredients
- 8 cups (½ gallon) whole milk, organic preferred
- ½ cup sweetened condensed milk
- 2 to 3 tablespoons plain yogurt with live cultures (at room temperature)
Instructions
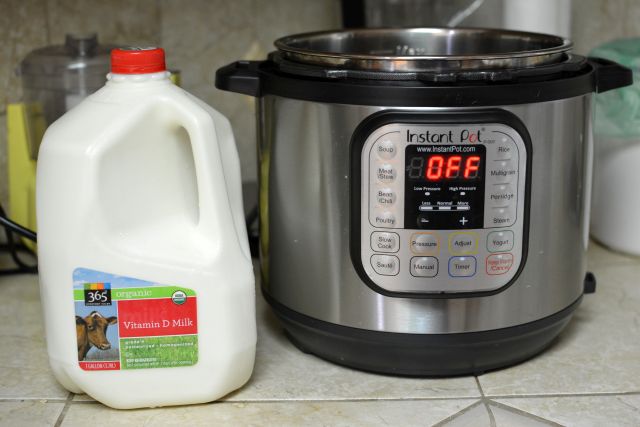
- Pour both kinds of milk into the Instant Pot. Lock the lid in place; turn the pressure release valve to seal. To pasteurize (heat the milk to 180°F), choose Yogurt and press Adjust until Boil appears on the display. When done, about 25 minutes, unlock and remove the lid.
- For thicker yogurt, encourage evaporation: Press Yogurt and Adjust (or use Saute and Normal mode) to hold the milk at 180°F for 5 to 8 minutes. (Don’t expect boiling, unless you mistakenly have it at More, like I did!) If you like, use a meat or candy/deep fry thermometer to occasionally gauge the temperature at the center.
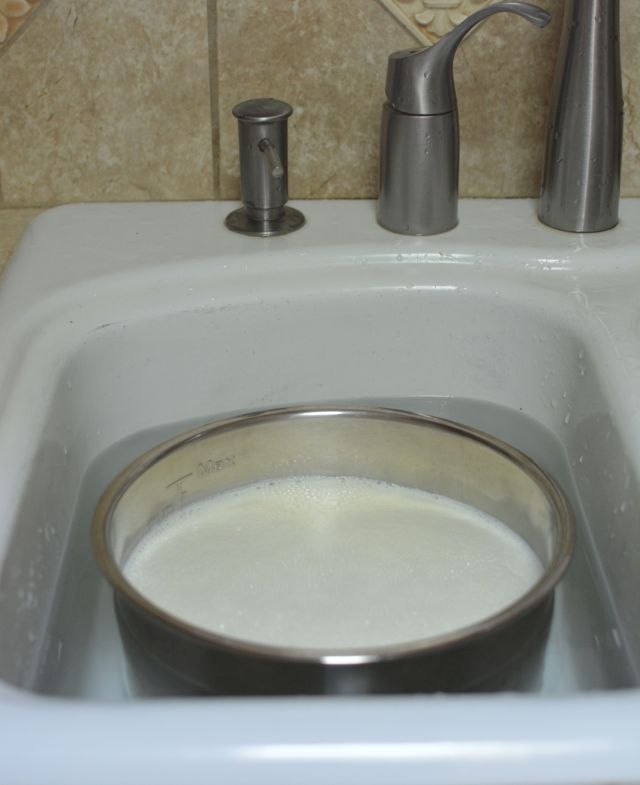
- Cool the inner pot of milk in a sink filled with 3 or 4 inches of water. Or, use an ice bath: fill a large bowl or wide pot with 8 to 10 ice cubes and water to a depth of about 3 inches. Let the inner pot of milk sit in the cold water for about 10 minutes; frequently lift and swirl the pot to aerate and cool. When the milk hovers around 110 to 115°F, remove the pot from the water and dry the outside. Discard any milk skin that may have formed.
- Ladle ½ to ¾ cup of warm milk into the yogurt and combine well. Stirring the warm pot of milk with the ladle, pour in the thinned yogurt. Replace the inner pot in the Instant Pot.
- Lock the lid in place (the pressure release valve can be in either position). To incubate, press Yogurt, then set the time between 8 and 10 hours (use the maximum for tangy yogurt). When done, the display says “Yogt”. (Once set, I’ve let the yogurt sit in the IP) for several hours. The IP’s Yogt mode defaults to standby so no heat is on and the yogurt cools.)
- Remove the lid. Whisk the yogurt for a consistent texture, avoiding the bottom where there’s likely a film of milk. For a thicker texture, strain the yogurt through fabric (set it in mesh strainer positioned on top of a bowl).
- Transfer into containers or jars and refrigerate for about 2 weeks.
If you have Instant Pot yogurt tips or Vietnamese yogurt tips, do share them!
Related post: How to make great rice in the Instant Pot






Gretchen Metzler says
Oh, Vietnamese yogurt! What a memory for me... and now I can use my Instant pot to make it too - I've been making "greek" yogurt since I got it two years ago (1 gal. whole milk plus good starter; a 2 day process including the straining so this sounds easier to me, and I like the inclusion of sw. condensed milk also!) I look forward to trying your method because I still love regular, thinner yogurt, and straining out all that whey IS time-consuming.
I remember having yogurt delivered to our house in Saigon in the 60's in milk jars with paper (?) lids we would scoop out of the top (also with freshly baked baguettes - yum!) I was born there in '59, and we left for Hongkong in '69... since then my mom incubates yogurt in her oven in saved margarine tubs. I would love to share this blog post with her; she is now in her mid-80's and makes yogurt now and then still.
Thanks for all the steady, good posts, Andrea.
Andrea Nguyen says
Gretchen -- if you do the extra evaporation step after pasteurization, the yogurt may be the exact thickness for you.
Thank you for sharing your family's yogurt story. It's great that your mom still makes her own! That's dedication. And margarine tubs, too. Wow.
The paper lids make sense for air circulation while keeping the bugs away. The Instant Pot makes yogurt making lots easier!
Jane says
Since all the health blogs now say that fat is OK, I now make yogurt with half and half. This gives a wonderful thick yogurt that is like Greek yogurt, but straining is not needed. Also, simmering the milk for a longer period of time will give you a much smoother yogurt and will give it a nice nutty flavor. The science behind this is explained in On Food and Cooking by Harold McGee.
Andrea Nguyen says
Yup, the simmering is nothing but evaporating water to create a fattier milk. Harold's great.
I like some tang in my yogurt but have wondered about using higher fat milk, like local milk. Half and half is a terrific idea.
Melissa says
Have you ever tried making yogurt with reconstituted powdered milk? Rumor has it that you don't need to pasteurize the milk if you do that (presumably if you're concerned, you could use boiling water to reconstitute) so the process goes more quickly. And in theory, if you want the equivalent of simmered milk, you could just use a little less water to reconstitute.
I haven't tried it myself yet, but I need to!
Andrea Nguyen says
I've only used dried milk for Indian gulab jamun dumplings. If you use fresh milk, then you can pick one that has high fat, is local, etc. I've found that the better the milk, the tastier the yogurt. Because the milk needs to be at a certain temperature before adding the yogurt starter, you have to heat it up anyway. Why not do the pasteurization?
But if you're looking to shave off some time, by all means, go for it! Please report back. Thank you!!!
Peter VanDeMark says
Hello Andrea,
I don’t know if you are still taking comments on this blog but I have found that by purchasing the non stick pot from Instant Pot, when you heat up the milk it does not leave as much of a film on the bottom of the pot. After I cool the milk I then transfer to the stainless steal pot to do the incubation. When the yogurt is finished I can then take all of it out of the pot because there is no film on the bottom to worry about. As a footnote you can purchase the nonstick pot from instant pot for $19.95 plus shipping. I purchased mine when they were available on Amazon but instant pot does not put them on Amazon currently. I also purchased the glass top that goes on that nonstick pot.
Andrea Nguyen says
Ah, what a nice tip! I recently bought a Fagor Lux for professional purposes and it has a ceramic coated non-stick inner pot that washed up like a dream! And it heat up super fast, too.
You sound like an IP super user! Awesome.
Justine says
This recipe is AWESOME! I've made it so many times but want to double the recipe! If I double the recipe, does that mean I have to double the incubation time as well?
Andrea Nguyen says
Sorry to reply so late. I'm sure you made the yogurt by now! Usually, there's no need to double the incubation time, but I've not made a huge batch before. I suppose you can check and then incubate for longer.
Carla says
Hi! I was wondering if you double the recipe (use a gallon instead of half gallon of milk) , do you still keep the time to 8-10 hours or do you double the time to 16-20 hours?
Thanks for the recipe!
Andrea Nguyen says
When I make regular yogurt with 1 gallon of milk, the incubation time is still 8 to 10 hours. I imagine the same would apply here.
Helen says
Hello! I’m looking forward to trying your recipe! I was wondering if it’s possible to just use a reduced volume of milk (eg. 7 cups instead of 8) to achieve the thicker texture rather than the evaporation step.
Andrea Nguyen says
I think you can do that. It's about concentrating the fat and protein so try using half and half plus whole milk. You can also just strain the finished yogurt for a thicker texture too.
Rose says
I'm very new to yogurt making. 3 batches in the past 2 weeks to be exact, with the milk contained inside a qt size canning jar set into a pan of water, and heating the pan on the stove until the milk was 180 degrees, then incubating the whole jar in the Instant Pot. I saw that on another website, and I've had success with it, and it's way easier than having to clean a pot w/ scorched milk on the bottom.
I came across your article about Vietnamese yogurt made w/ sweetened condensed milk, and even though I had just made a batch of plain yogurt earlier in the day, i rushed down to the kitchen to try your recipe - at 11 o'clock at night! Boiled the water, added sweetened condensed milk, plus a can of ice water to cool it down quickly (it was 11:15pm by then!), added yogurt, poured the mixture into 2 qt sized canning jars, and incubated over night in the Instant Pot. Tasted it this morning, and gave a spoonful to my 13 year old daughter. Her eyes flew open wide, and she proclaimed, "This is really good!" Truly delicious, silky, light, and just a touch of sweetness after 8 hours. Never thought yogurt could be called "refreshing," but that's exactly what this is, and just ridiculously easy!
I was looking in my pantry earlier yesterday, and wondering why there were 8 cans of sweetened condensed milk in there, I have no idea why I had bought so many, but now I know exactly what to do with it! Thank you so much for your articles and your recipes. I'm enjoying your blog and look forward to learning more - while eating sua chua, of course! Thank you!
Andrea Nguyen says
This is a wonderful story, you've shared. Wow. I'm so thrilled that you've made such good use of the recipe.
And, yes, I understand your thing with sweetened condensed milk. I have too many cans of it myself!