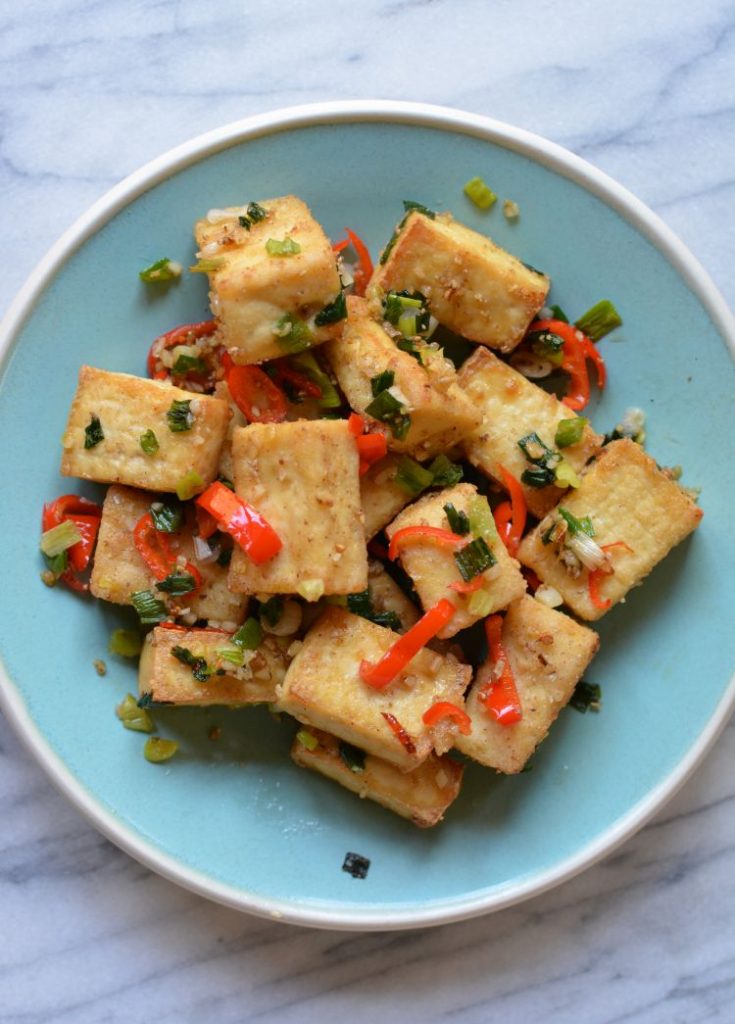
One of the things that an air-fryer does well is turn tofu crispy. This week, I tinkered with a 2012 recipe to make air-fried salt and pepper tofu. The original version called for deep-frying tofu, which I adore because the exterior becomes crisp while the interior remains soft. But as much as I love to deep-fry, I mostly save it for special occasions or the weekend, when I have more time and want to spend the calories. To turn the conventional recipe into an air-fried salt and pepper tofu, I had to change up a few things because air-frying is unusual cooking.
I’m not totally expert on air-frying but my recent experiments and observations yields these bits of knowledge.
What is an air-fryer? It’s not a magical cooking appliance. It’s simply a convection oven that operates intensely in a small amount of space. After experiencing and trying out air-fryers, I settled on an air-fryer oven. It’s also a regular toaster oven and has more space to cook a decent amount of food; air-fryers with baskets for putting the food in tend to have smaller capacities. The ovens allow you to monitor cooking through a window. To see what the cooking action is like, here’s a video peek inside my Cuisinart air-fryer oven.
What are the pros and cons of air-frying? Air-frying uses minimal oil so people who enjoy fried food can have less-guilty pleasures. That said, it’s lean cooking. I won’t be giving up deep-frying but I surely appreciate the richness that it imparts on food as well as the texture that it lends to dishes.
Air-frying can dry food out quickly. That’s why you need to remember to use some fat (an oil mister, oil spray or coating of oil or egg) plus turn the food around during cooking. It's not a set it and forget it kind of cooking experience.
Browning can be uneven due to the natural curvature of the food you’re cooking and sometimes the browning can be very dark. But I’ve never burnt food in the air-fryer. I’ve only cooked food to an overly dried out -- dehydrated state. My mistakes have all been edible.
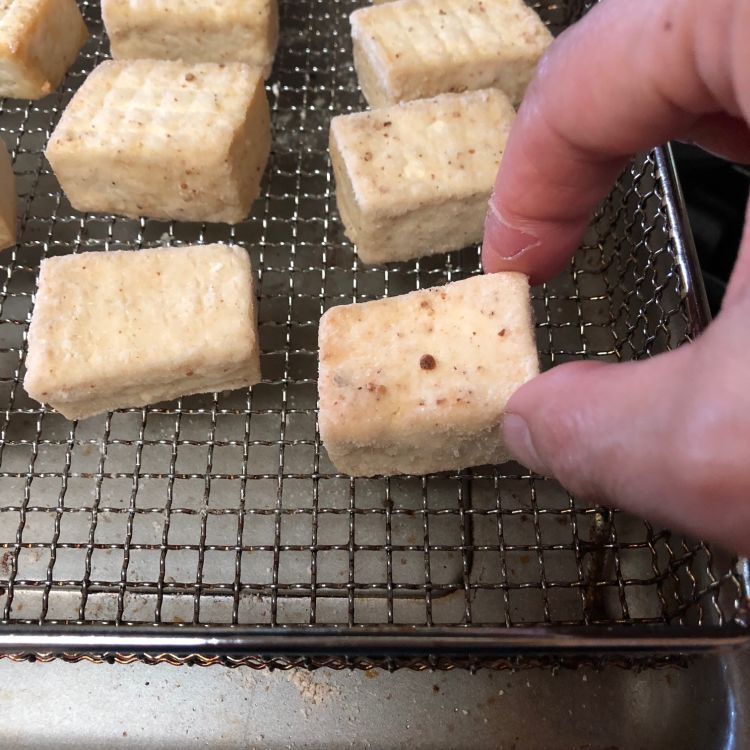
Dealing with food sticking: With less fat involved, food can stick to an air-fryer basket or rack. I always let the food rest a few minutes after air-frying to allow the food to dry. It will lift off the rack easier once the surface moisture has evaporated. You may also try tapping or lightly banging the air-fryer rack on the counter several times to release food that's been cut into smallish pieces.
Back to the air-fried salt and pepper tofu. I typically use firm tofu, but with the air-fryer, I used extra-firm tofu to make sure there was less moisture to prevent the tofu from crisping. You can opt for firm tofu for a more tender texture. I tried air-frying tofu sold in a vacuum-sealed packaging (usually labeled super-firm) but it got too chewy in the air-fryer. I like some tenderness in my tofu because that means the tofu will pick up other flavors better.
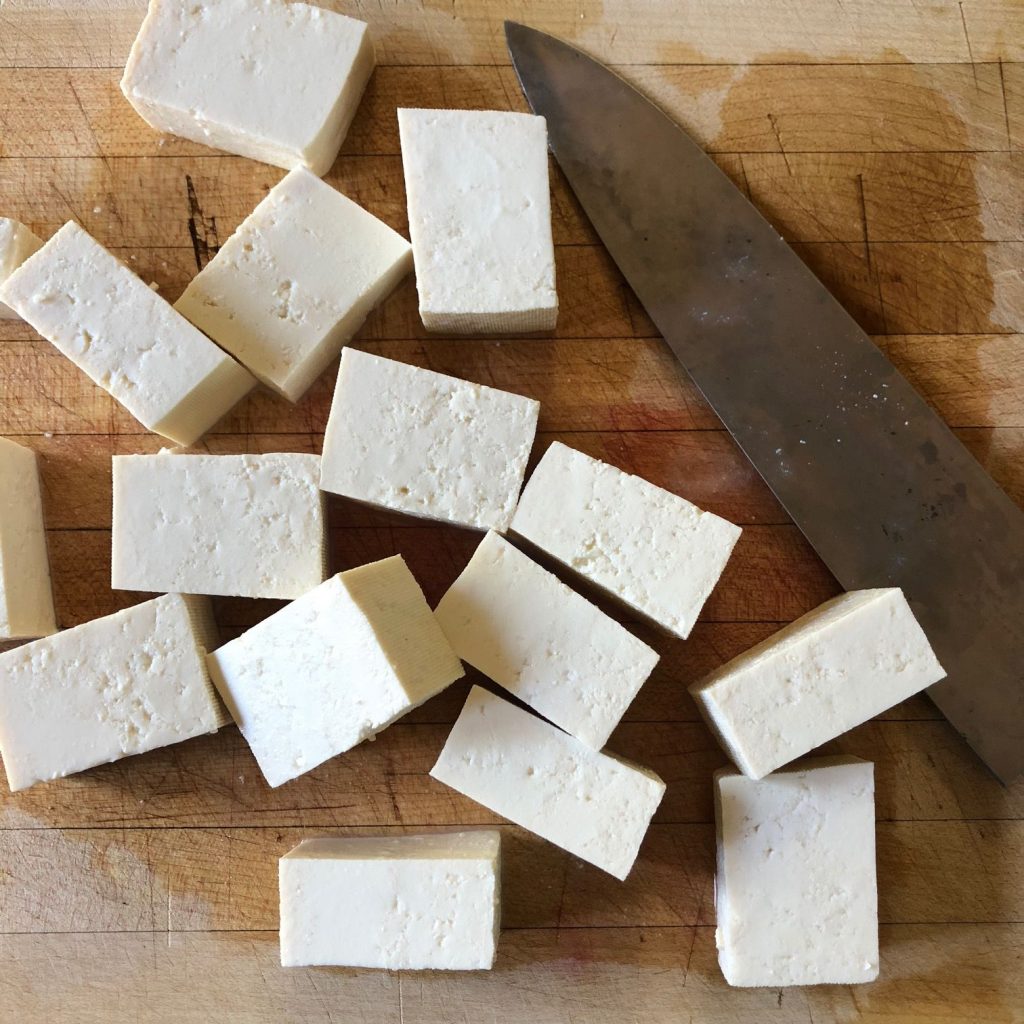
Additionally, I lightly salted the tofu and then let it sit to drain. That step seasoned the tofu while draining the chunks of excess moisture. Plus, I’ve found that salting tofu also creates a more golden crust. To prevent the tofu from being too lean and to coax crisping, I coated the tofu in oil, then a little starch and rice flour. I’ve revealed all my little tricks to demonstrate that air-frying requires extra strategies to create the texture, flavor, and appearance that you want -- or would normally expect.
What if you don’t coat the tofu? The tofu needs something. Alone, it can stick and turn very hard by the time it browns because in the air-fryer, you'd be dehydrating the tofu. At minimum, coat the tofu pieces in a light coating in oil. If you do that, pull it out just shy of golden brown because it will darken, dry further, and shrink more during cooling.
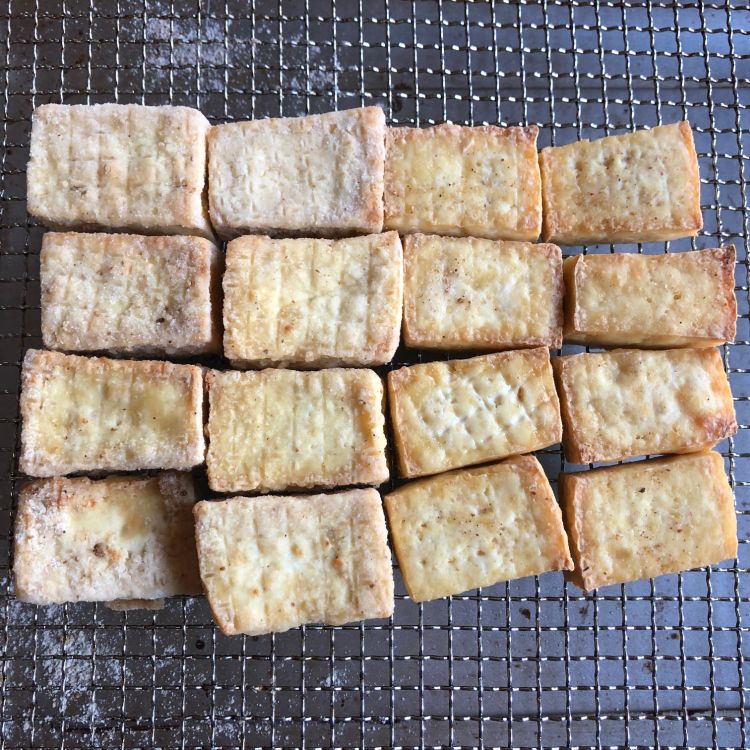
In this dish, the coating prevents the tofu from evaporating and shrinking too much. Remember that an air-fryer is like a hot wind storm. Its convection power is intense so always consider the moisture in your food. The moisture on the surface of the food should be minimal to facilitate browning but you also don't want to over cook and dry things out inside.
For the air-fried salt and pepper tofu, I used one tub of Whole Foods extra-firm tofu and was able to cook it all in one layer in the Cuisinart air-fryer oven. If you have a smallish air-fryer shaped like an egg, do the frying in two batches and keep the air-fried tofu in a warm oven while you fry the second batch.
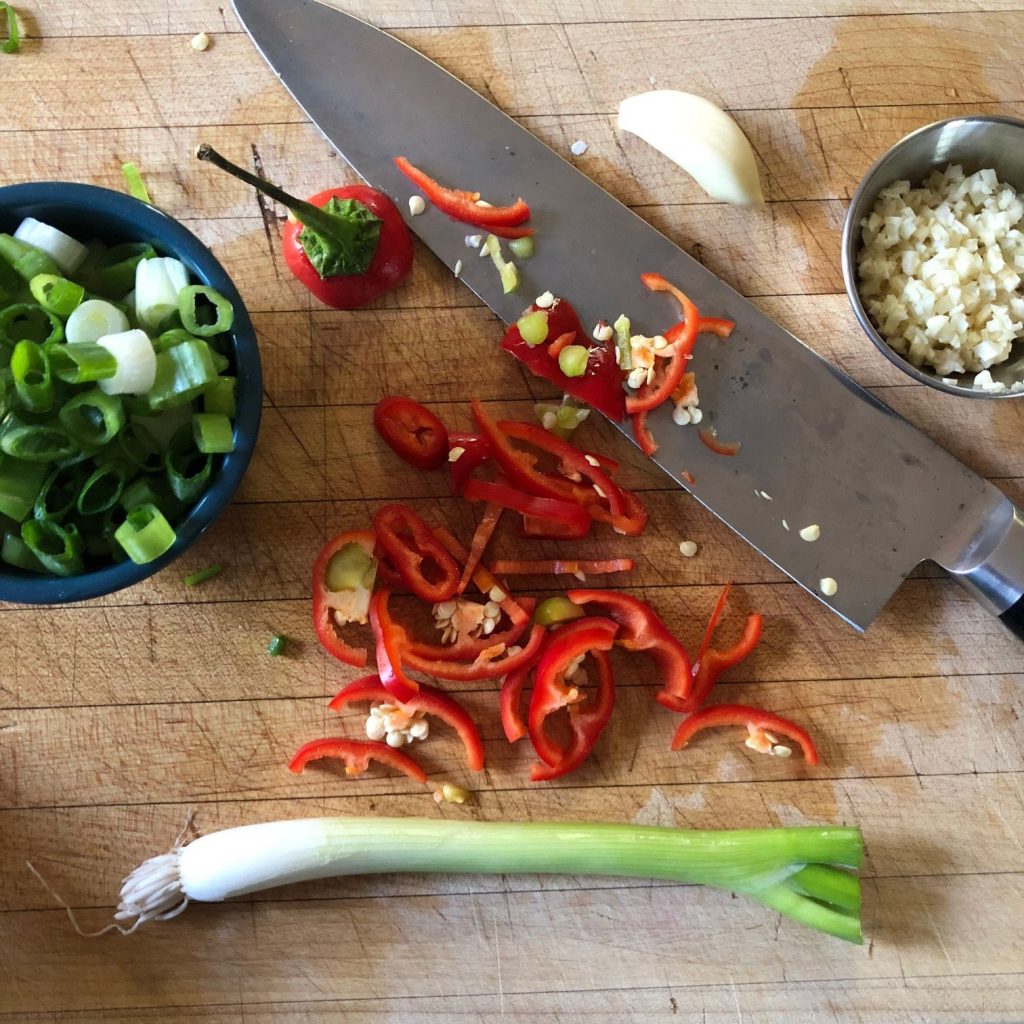
As for the salt and pepper tofu flavor, I used sea salt, white pepper, and added a touch of five spice. Sugar offsets the heat. Lots of garlic, green onion, and chile add brightness and contrast.
When I was done with the air-fry makeover, I was kind of amazed that I didn’t have to deep-fry the tofu. Air-frying the tofu involved more steps but resulting air-fried salt and pepper tofu had good flavor and texture. I love to deep-fry but when I’m working on deadline like I am these days, I don’t want to pull out the oil and do the clean up for a weeknight dish.
Related post:
- Salt and Pepper Tofu (deep-fried version!)
- Air-Fried Sweet and Sour Ribs Recipe
- How to buy tofu (tips and resources)
Air-Fried Salt and Pepper Tofu
Yield 2 servings
What if you do not have an air-fryer? You can fry the tofu old school in oil, as described in this recipe. Or, you could try to roast the tofu on a rack set in a baking sheet; I'd experiment with 400F in a regular oven, 375F on a convection setting.
Ingredients
- 14 to 16-ounces extra-firm tofu
- About ¾ teaspoon fine sea salt or table salt, plus rounded
- ¾ to 1 teaspoon ground white pepper (use more if you like a lick of heat)
- 2 pinches Chinese five-spice powder
- 1 teaspoon sugar
- 3 tablespoons canola or other neutral oil
- 1 tablespoon cornstarch
- 3 ½ tablespoons brown or rice flour
- 3 cloves garlic, finely chopped (1 tablespoon)
- 1 Fresno or serrano chile, halved lengthwise and cut crosswise into thin pieces (retain seeds for fun)
- 2 large scallions, white and green parts, cut into ¼-inch pieces
Instructions
- Cut the tofu into chunky dominos, each about 1 inch wide and high and 2 inches long. Sprinkle on a rounded ¼ teaspoon of the salt and gently toss to coat as best as possible. Put the tofu pieces on 2 layers of paper towel set on a plate. Let drain for 15 minutes.
- Meanwhile, in a small bowl, stir together ¼ plus ⅛ teaspoon of the salt with the pepper, Chinese five spice, and sugar. Taste and add extra salt, if needed to balance flavors. Put ½ teaspoon of the seasonings in a medium bowl, then add the cornstarch and rice flour; set aside.
- Blot excess moisture from the tofu, then coat in 1 tablespoon of the oil. In 3 or 4 batches, lightly coat the tofu in the seasoned starch and flour mixture. Transfer to the air-fryer rack or basket and arrange as a single layer.
- Preheat the air-fryer set to 375°F for 3 minutes. Then air-fry the tofu for 10 to 15 minutes, turning midway when hissing and fragrant, until lightly crispy and golden; the air-frying time depends on the tofu texture and air-fryer model.
- When the tofu is done, let cool for 2 to 3 minutes to dry and finish crisping.
- In a medium or large skillet over medium-high heat, warm the 2 tablespoons of oil. Add the garlic, chile, and scallion. Cook for about 15 seconds, stirring, until fragrant.
- Add the tofu, then sprinkle in the ground seasonings. Cook for 1 to 2 minutes, stirring constantly, to allow the tofu to absorb the flavors. Transfer the tofu, along with all the bits in the pan, to a plate. Serve immediately.
Courses Lunch, Dinner
Cuisine Chinese




Kim W says
Can you use regular flour instead of rice flour?
Andrea Nguyen says
I think so but I'd mix in a little cornstarch for crispness.
Thich Nu Tinh Quang says
Thank you for this recipe. I've been looking for vegetarian tofu recipes and this one sounds delicious. I don't have an air fryer, so will try the oven method. Thanks again.
Andrea Nguyen says
Fantastic! Thank you!
Lisa says
I made this tonight and it was delicious. Thank you for the recipe!
Kammy says
Made this today and it was exactly what I hoped for!! Perfect crispiness and great flavor even though I used a little less salt than called for. I can’t wait to make this again. Thank you!