My one and only restaurant cooking job was at City Restaurant in Los Angeles. I was a line cook assigned to the pantry station. It was 1992 and I’d never worked in a restaurant before but Mary Sue Milliken and Susan Feniger hired me. My parents were scratching their heads, asking why I wanted to work for $6 an hour after earning a bachelor’s degree in finance and going to school in Hong Kong on a fellowship.
Well, after about 3 months at the restaurant working 8-hour evening shifts, I realized that it was the most physical and unglamorous work. I loved it but preferred researching, cooking in my own kitchen, and writing. I gained the utmost respect for restaurant cooks, dishwashers and the front and back of the house staff.
As a pantry cook, I made sandwiches, appetizers, and salads. One of my prep items was the toast point, a less fanciful term for a crostini. I made scads of them for appetizers, using a bread knife to saw dramatically long, thin slices of rustic ficelle (imagine a super skinny baguette) baked at the original La Brea Bakery down the street. The ficelle had a very hearty crust and chewy crumb. It baked up crunchy, thanks to good drizzles of olive oil. It worked for creamy and/or rich foods at the restaurant but frankly was too hard for other uses. It scraped the roof of my mouth. The pointy end of those particular ficelles poked me hard enough once to make me bleed.
Fast forward 22 years later to last weekend, that kind of toast point was not going to work for the book launch party’s banh mi bar. I needed bread that was sturdy but not harmful. The airy crisp baguette that you often find used for banh mi may shatter and fall apart at a party. (Celia would kill me with the clean up at Omnivore Books.)
I shopped around and settled on a local “sweet baguette” – it had a chewy-soft crumb and light-yet-sturdy crust. It wasn’t high-end and filled with voluptuous air pockets, but neither was it a cheapie that was super lightweight. The baguettes from Kelly’s Bakery cost about $2.50 each, and from each one, I got about 30 crostini. A not-so-fancy bakery and supermarket are likely your best sources. It’s not tricky to choose the bread for crostini but you do have to think about its end-use and choose wisely.
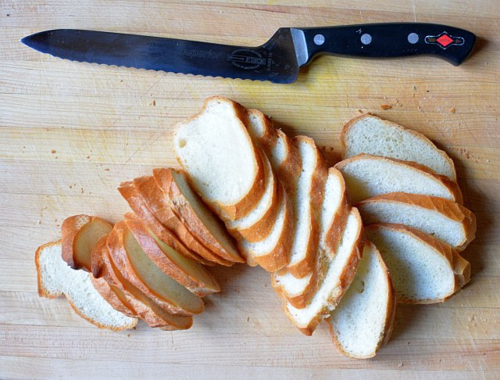
To make the bread easier to cut, I let it soften overnight in a plastic garbage bag. Then I tried two types of bread knives. My regular straight one was okay but the offset “sandwich” knife I bought from knife sharpening expert Terry Beech allowed me to easily cut slices that were consistently thick. I didn’t think that the bread knife would matter that much but it did.
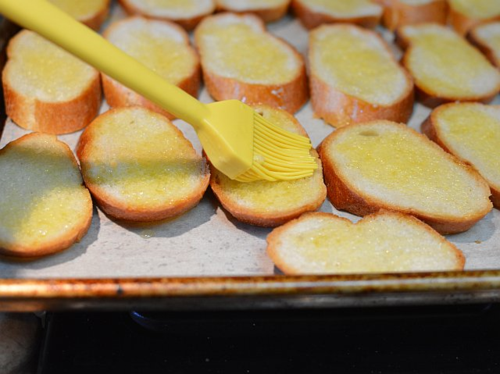
Then there was the fat on the crostini. I wanted a rich flavor and crisp texture. Olive oil? Nah, this is Asian cooking, but sesame oil wasn’t needed! Canola oil? How plain. In the end, I melted unsalted butter in a saucepan with oil and brushed it on for even coating; don't drench the bread or it will end up seeming greasy. I used Trader Joe’s organic unsalted butter, which was intensely yellow with decent flavor.
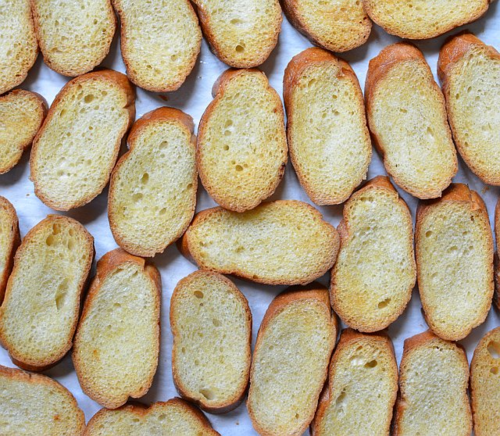
The rest was just baking the crostini until they were golden. Then they cooled and I transferred them in disposable aluminum pans and covered them with foil. They were ready to go. You can keep the finished crostini in a paper bag overnight. The flavor dulls if they’re kept for longer, I’ve found.
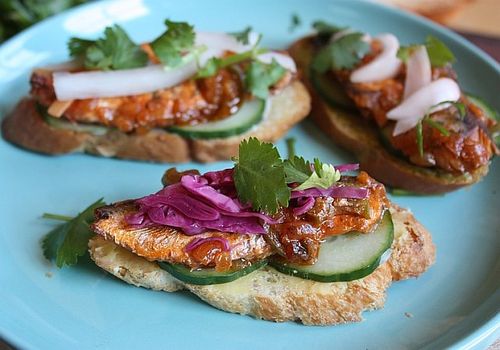
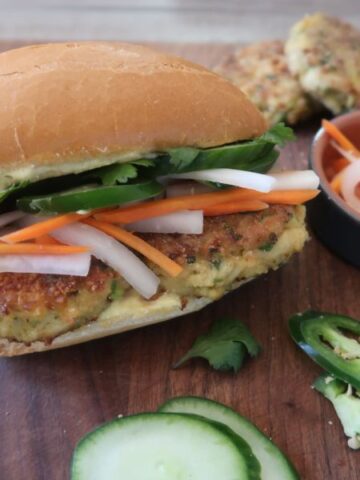
To build a banh mi crostini like what you see at the top of this post, just follow the directions on page 10 of The Banh Mi Handbook. The suggestions in this article for making crostini varies slightly from what’s in the book because these were meant for feeding a crowd and advance prep was needed. The featured protein in the top photo is sardines in tomato sauce (page 76). Refer back to the Banh Mi Party Tips for more ideas. I think you're ready for a major banh mi celebration!
Recipe
Crostini
Yields: About 30, to serve 5 or 6
Ingredients:
- 1 sweet baguette (see above for tips on selection)
- 2 tablespoons unsalted butter
- 3 tablespoons canola oil or other neutral oil
Method:
- Position two racks on the upper and lower thirds of the oven, then preheat to 375F (190C). Line a baking sheet with parchment paper. Set aside.
- Use a bread or better yet, offset sandwich knife, to cut slices of bread about ⅓ inch (8mm) thick. Arrange them in one layer on the prepared baking sheets.
- In a small saucepan, melt the butter in the oil. Brush onto the top side of each slice of bread. Bake for 15 to 20 minutes, rotating at the 10-minute mark, until golden and crisp.
- Cool completely on a rack before using or storing.


