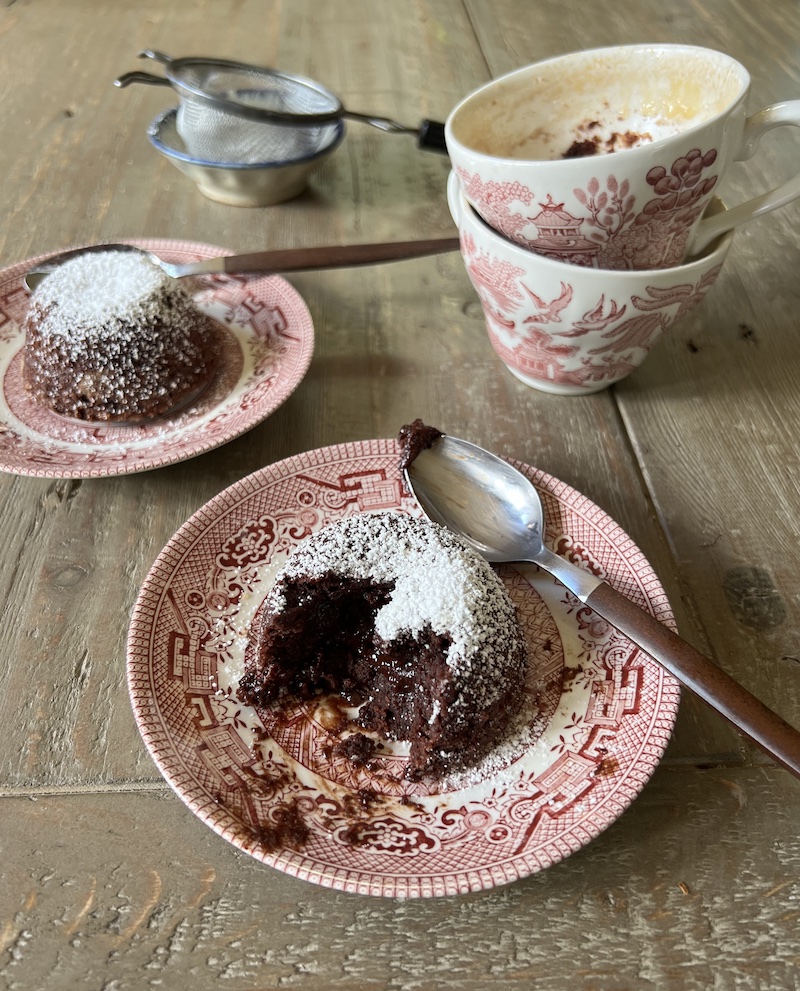
Whenever Valentine’s Day rolls around, people bring up chocolate lava cakes. Served warm soon after they’re baked, the single serving cakes have slightly or fully molten centers — depending on how long you bake them. The cakes don’t require complicated ingredients but you do have to do some minor tricky dance moves, and bake with care.
I’ve been baking chocolate lava cakes since chef Jean-Georges Vongerichten released his recipe in the late 1990s. (French chef Michel Bras came up with the concept in 1981 baking frozen ganache in biscuit dough; JGV used a batter and monitored baking.) I followed the recipe in Jean-Georges: Cooking at Home with a Four Star Chef, which required small brioche molds. The metal molds nearly burnt my fingers whenever I went to release the cakes. Buttering and flouring each mold, plus thoroughly cleaning them, was a pain in the butt. Restaurant chefs have teams to clean. I did not. But my husband and dinner guests were worth it, right? Sort of. Some modern cooks use ceramic ramekins but I ran into the same cleaning and heat issues. I haven’t baked chocolate lava cakes for about fifteen years.
Handles are Key
A few weeks ago, in a special Sunday New York Times section for kids, there was a chocolate lava cake recipe that was pitched as “mini volcanoes.” Yossi Arefi and Margaux Laskey, recipe developers I trust, developed the recipe. Their lava cakes were baked in a muffin pan, not brioche molds. After baking, the muffin pan was inverted onto a baking sheet and then the cakes were carefully transferred to serving dishes. That got me thinking about a better way to bake chocolate lava cakes. I needed handles. Dialing back to clock to the early 1990s when I cooked at City Restaurant in Los Angeles, I recalled how Mary Sue Milliken and Susan Fenniger baked their version of Hostess cupcakes in ceramic coffee mugs. Why not use teacups as molds for the chocolate lava cakes? I looked in my cupboard and the solution was looking right at me.
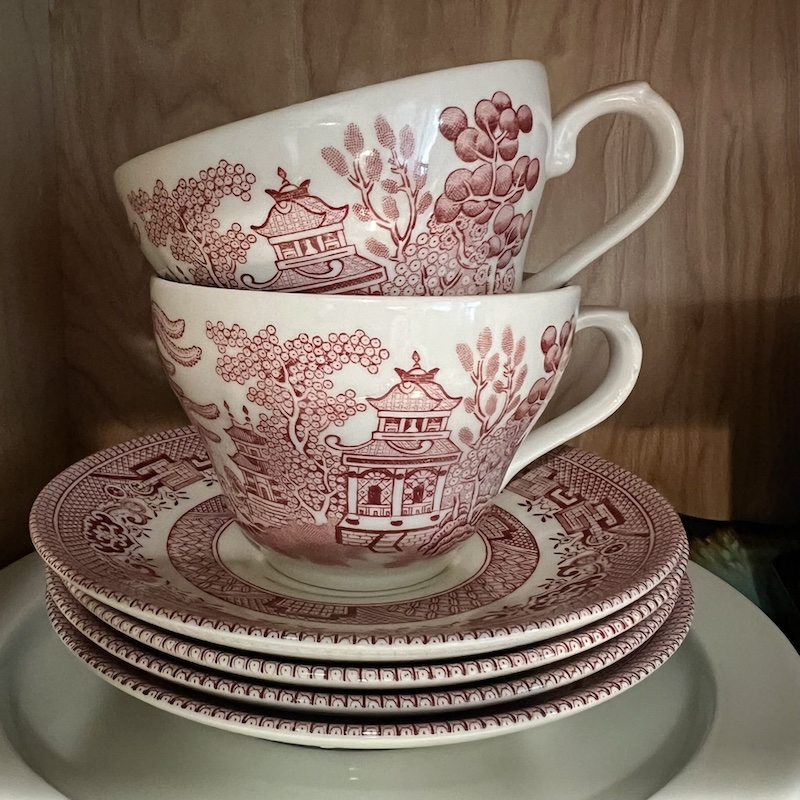
They are easier to wash, are designed to be held and inverted, and roughly the same capacity as a small brioche mold. I have a set of teacups and matching saucers. After spending a Saturday morning baking three (3) rounds of this recipe, I have something good to share with you!
When are the Cakes Done? Goo and Goofs are Fixable
The trick is when to pull the cakes. Even though I sometimes over baked or under baked, the cakes turned out swell. Figuring out how long to bake for depends on your teacup but the 8 to 10 minute range serves a great guide. And, some people love more gooey centers than others. In all cases, the chocolate lava cakes taste great. Even when over baked, they are tender and sinful tasting, despite not really be super caloric (1 tablespoon butter, 1 tablespoon sugar and dark chocolate for each serving!).
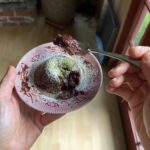
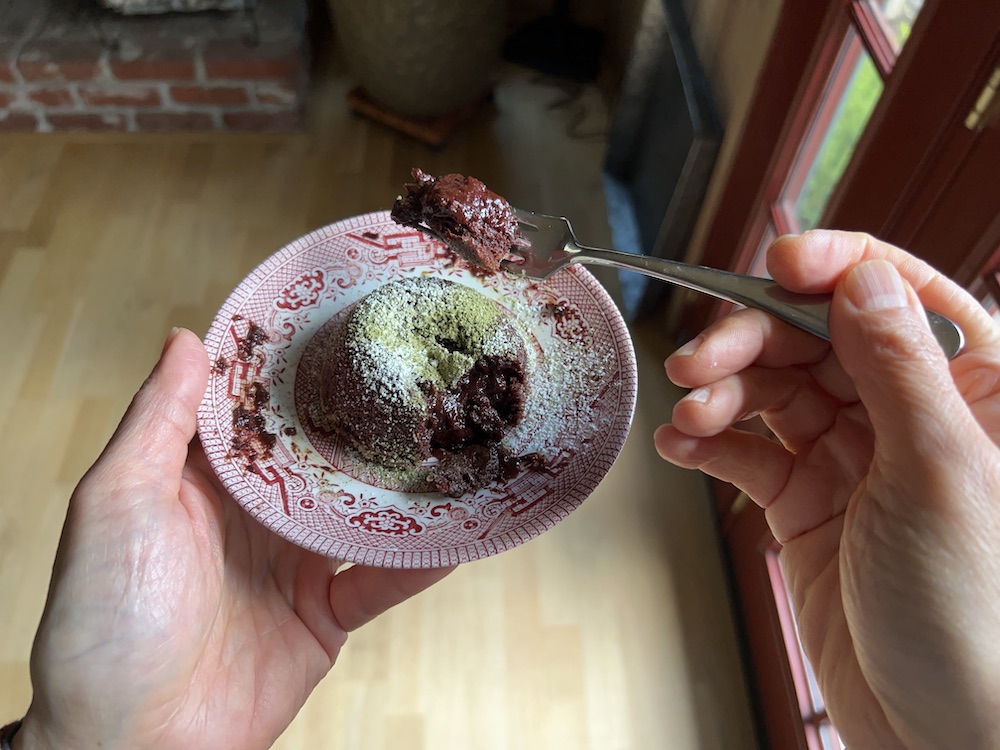
My first two times, I over baked but the centers were still slightly molten, fudgy and delicious. The third time, I underbaked and got goo. I had one unmolded cake left so I rebaked it for 1 minute and it turned out perfect. Below, it's dusted with confectioner's sugar and matcha. The center sinks slightly and the interior is just gooey enough. I baked for 9 minutes. The ones at the top of the post were baked for 10 minutes. What I also learned is that I have to weigh nearly all the ingredients -- including the flour.
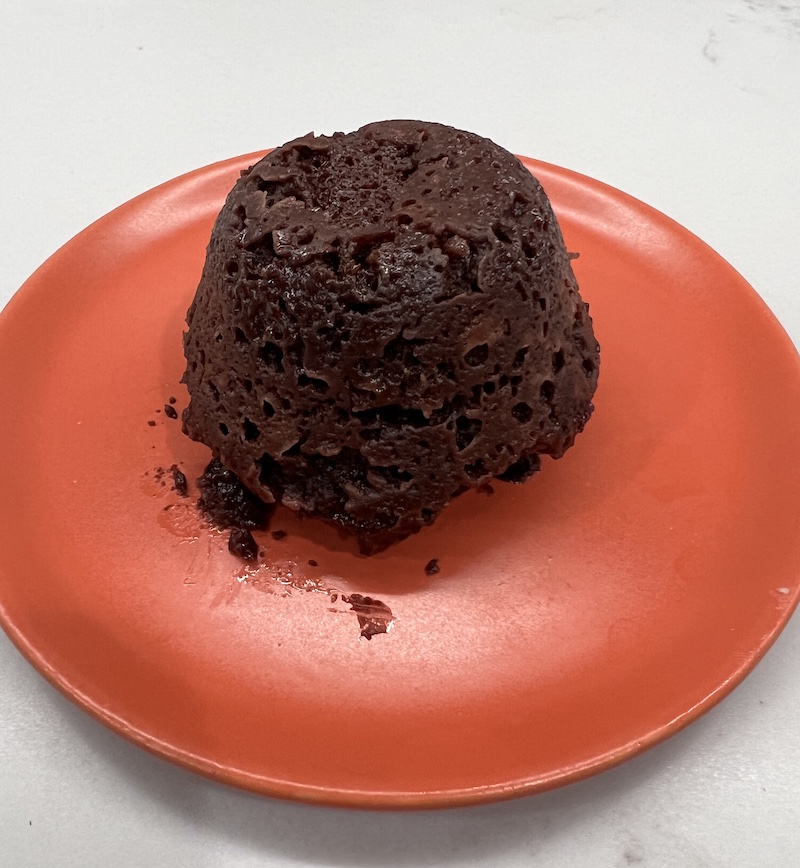
How to rescue the gooey cake mess? I dumped the cake back into the cup and put it in the microwave for 30 seconds and it baked into a funny lofty chocolate cake, which I dumped out and it was edible like a moist chocolate cupcake. The problem is that it wasn't pretty.
Prepping with Measuring Cups
I didn’t mind redoing the chocolate lava cakes a few times in one day because the batter literally takes about 10 minutes to put together. And while I was on a "cup" mode, I did my prep using measuring cups. Why? Because you can hold and pour them easily. If you have a set of Pyrex 1 and 2-cup measuring cups, you’re set! A small whisk and spatula were my other tools.
The original NYT recipe was for children and honestly, it was a bit fussy with transferring the baked cakes from a baking sheet to serving dishes. Using an old fashioned teacup and saucer is a great way to go. Not only is the teacup handy, you can legitimately call your creation “Chocolate Lava Cupcakes”. I hope you playing with this recipe as much as I have.
Chocolate Lava Cupcakes Video Tips
Here are some tips and evidence of my goofs! Consider turning off ad blockers if you don't see the video. Thanks!
Chocolate Lava Cupcakes
Equipment
- 2 ceramic teacups
Ingredients
- 1 ounce (28 g) unsalted butter, plus more for greasing cups
- 2 tablespoons granulated sugar, plus more for coating cups
- 2 ounces (56 g) dark (at least 65% cacao) chocolate baking wafers or chopped bar
- 1 large egg, at room temperature
- ¼ plus ⅛ teaspoon vanilla extract
- 1 big pinch fine sea salt, or ⅛ teaspoon kosher salt
- 1 ½ tablespoons (12 to 13 g) all-purpose flour (use maximum for firmer texture; see Note for GF sub)
- ½ teaspoon confectioner’s sugar, matcha powder, or both (for garnish)
Instructions
- Preheat the oven to 425F with a rack in the middle position. Butter 2 teacups with a nub (about ½ teaspoon) of butter). Sprinkle in sugar to coat the interior, then invert in the sink and tap out the excess. Set aside.
- Cut the 2 Tbsp butter into cubes and put in a small (1-cup) oven-proof measuring cup. Add the chocolate. To melt, use the microwave on high power, in 30-second blasts, stirring between each, until smooth and shiny, about 1 minute total. (Or, set the cup on a baking sheet and put into the oven for 5 to 6 minutes, stirring at 2 minute intervals, until smooth and shiny.) Set aside to cool for 3 to 5 minutes, until lip temperature (dab some on your lip and it should feel comfortably warm).
- While the chocolate cools, in a medium (2-cup) measuring cup vigorously whisk together the egg, sugar, vanilla, and salt for 1 to 2 minutes, until buttery yellow, frothy, and no longer grainy feeling. Gently whisk in the flour until it just disappears from view. Use a spatula to stir in the melted chocolate mixture.
- Divide the batter between the two prepared teacups. Shimmy each cup to level the batter. Place on a baking sheet and slide into the oven. Bake for 8 to 10 minutes, until slightly puffed and set. Touch the surface: the edges will feel drier than the center, which will feel a tiny bit moist. If there’s a dip in the center, bake for about 1 more minute.
- Let the cakes cool on the baking sheet for 2 to 3 minutes. Run a knife tip around the edge to loosen, place a saucer (or small dish) over the teacup. Using a dish towel, if needed, hold on to the cup and saucer and invert, giving them a shake to release the cake. You’ll feel it drop onto the saucer. If the cake is stubborn, run the knife tip around the edge and try again.
- Put the confectioners sugar in a fine mesh strainer and tap to dust the top with a bit of snowy white sweetness. For a green, slightly bitter touch, add a dusting of matcha. Serve warm with forks or spoons.


